Menu

Author: jmaurizi

Hike the Thorthon Lakes Trail

This is an ambitious day hike only because I stated after lunch. The hike to the lake is 5 miles one way with a side trail option to hike up to the summit of Trapper’s Peak, which I did. To access the trail head for Thornton Lake, you must drive a back country road for about 20 minutes up a steep grade dirt road. I had a rental car with normal clearance and it worked fine.


The start of the trail is very easy for the first 1.5 miles. After that point it is a steep climb up for another 3 miles to a saddle. At that point, you can go straight for an ascent of Trapper’s Peak or turn left for the lake. It is another .5 miles but this section is a steep downhill to the lake. Once at the lake there are several places to either camp or enjoy the view of Trapper’s Peak on the right and Mt. Triumph left of center watching over the lake.

Return the way you came for a 10 mile hike. If you wanted to ascend Trappers Peak, I recommend doing that first before descending down to the lake. This way you have an option if it is too late in the day.

0

Author: jmaurizi

Hike Cutthroat Pass from Rainy Pass Trailhead

Breathtaking views along a the Pacific Crest Trail!

This hike begins at the parking area across from the Rainy Pass Trail Head. It is on the north side of Route 20. There is a larger parking area a little further down Route 20. The Pacific Crest Trail (PCT) is 2600 miles long and links the borders of Canada and Mexico as it travels through some of the most beautiful scenery in the world. This hike is 5 miles of the PCT up to Cutthroat Pass and back to the trail head. The first 2.3 miles of this hike is through beautiful thick forest. The hike also slows down 1 mile in with many recent (summer 2016) downed trees blown over by a micro burst storm. Easily climbed over or under. Hopefully the park service will have these cleared out soon.

After 2.3 miles, the forest recedes and the landscape opens up for amazing views all around. The trail climbs steadily but rather easy. After 4 miles you will encounter several switchbacks that make the grade easier. I encountered snow on the trail at this point (mid-July) but it was well packed and easy to walked over.

The final mile was one of the best hiking experiences I’ve had. The open landscape with clear blue sky and rugged peaks were breathtaking. Finally you arrive at the pass, an altitude of 6800 feet. Here you can look down on Cutthroat Lake and across to the Methow Valley. You can continue along the PCT for a bit more (I wish now that I did) or return the way you came after a rest. On the way down you have great views of Cutthroat Peak on the right.

This was the easiest and most enjoyable 10 mile hikes I’ve ever completed. It took me a little over 4 hours much of which was spent taking photos.

0

Author: jmaurizi

A morning with baby Sea Turtles

An event I thought I would never get to experience without paying some local guide company. Fortunately I was at the right place at the right time for an incredible experience.

The day started like any other day during my many trips to Costa Rica.  Clear blue skies over the Nicoya Peninsula and warm temps.  The plan, to take my students to a remote beach that has become one of my favorites for it’s pristine sand, palm shaded coast, gentle waves and an ocean bottom void of annoying dead coral and volcanic rock known to be present of some other beaches in the area.  However today, Playa Corozalito became my all time favorite for another reason.

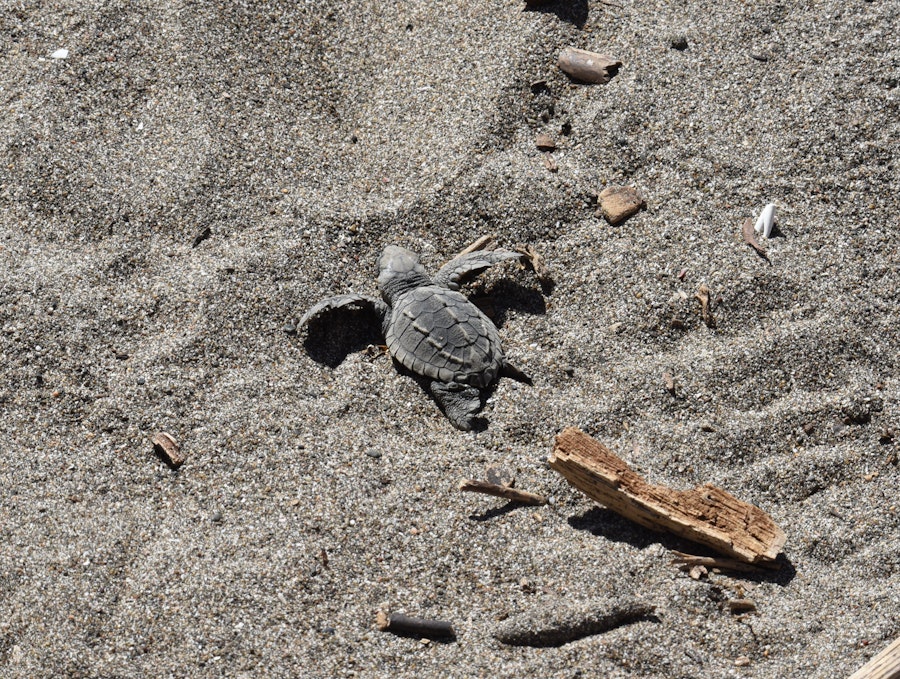
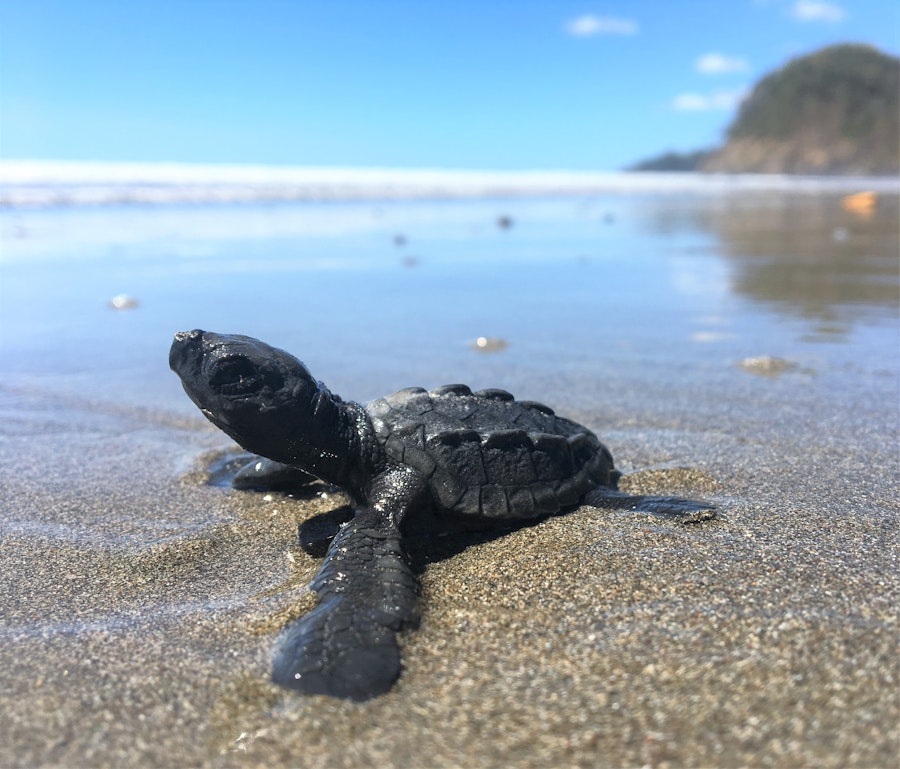
We arrived at Corozalito about 9:45am. It’s a 45 minute drive from Samara.  The access road turns left as you approach the beach and continues through palm trees with several picnic tables along the way.  I always choose the end where the last picnic table is located.  As we exited the SUV’s, we were greeted by the squawk of a Scarlet Macaw.  An impressive sight and although I have seen these along other beaches, I’ve never seen one at Corozalito.  As the students snapped photos of the Macaw, another student ventured out on the beach a little ways.  Suddenly a yell out, “baby sea turtle!”  All our attention left the Macaw and focused on a small struggling newly hatched sea turtle.  Having some experience with this from years ago assisting some local scientist with an organized release of sea turtles, I knew the baby sea turtle had to find it’s own way to the ocean.  This was an essential part of the turtle hopefully returning to the same beach to lay eggs when it was mature (depending, of course, if this was a female).

This was an unusual sight because the sea turtles tend to hatch at night or just before dawn.  There are many predators in the day light hours, especially sea gulls and pelicans.   Thinking this was a lone straggler, and having some minimal experience handling baby sea turtles, I assisted the little turtle, bringing it past the deep sand it was struggling to get through.  It was at this point we realized there were hundreds of baby sea turtles making their way to the ocean!

We spent the next two hours watching these incredible turtles start their life with a journey to the sea.  I was amazed how they instinctively know to head for the ocean and to know the direction!  As they approached the water, small waves would flip a few on their back.  They struggled to right themselves using their arms to do a sort of reverse push up.  Never giving up, another wave would rush in and right them and they would begin to swim away.  Even after the water receded back into the ocean, leaving them behind, they continued the push for open water, freedom and the safety of the sea.

After returning to Samara, we learned that these were Olive Ridley Sea Turtles and they are listed on the International Union for Conservation and Nature Red List as “vulnerable.”  This was an experience I will never forget.  I’m not sure my students fully appreciated the experience as I tried to stress how rare it is to come across this event.  I’ll be back next year and hope to be as lucky!

0

Author: jmaurizi

Beware and Be Aware – 10 things to know when visiting Arches National Park

Arches National Park is known for the largest concentration of arches in the world. Arches has more to offer with great camping, photo opportunities and hiking. So beware and be aware of these 10 items when planning your trip.

1. Cryptobiotic Soil

At every trailhead in Arches you will see an interpretive sign explaining what Cryptobiotic Soil is and it’s importance to the fragile ecology of the desert.  Basically, these small crusted mounds are living organisms composed of Cyanobacteria.  This crust aids in water retention, helps prevent wind erosion, provides nutrients to surrounding plants and creates a foothold for other plants to attach and germinate. I’ve read reports that it can take 50 to 250 years for cryptobiotic soil to regenerate once trampled on.  Just one more reason to stay on designated trails!

2. Snakes

There are eight species of Rattlesnake in Arches National Park and over my more than 20 visits to the park over the years, I’ve yet to encounter one.  The snake in the photo is a Gopher Snake I encounter in 2016.  The markings are somewhat similar to that of a Rattlesnake but there are some tell-“tail” signs.  As implied, the tail of a Rattlesnake has hollow segments that make a warning “rattling” sound if you get too close.  The Rattlesnake also has a triangular shaped head.  The Gopher snake does not have these two traits.  Also, the Gopher snake is not venomous.  However, they can bite if you try to handle them.  Bad idea for many reasons.  When encountering any snake, give a wide birth around the snake or back away from it.  Do not try and handle the snake or try and move it.  Also, killing a snake in a National Park is illegal (so I’m told).

3. Yucca Plant

The Yucca plant is common along all trails in Arches National Park. It has long shoots with very hard tips. The plant is also referred to as Spanish Bayonet or Spanish Dagger for a reason. The hard tips can easily penetrate long pants and puncture your skin. It is extremely painful and often the tip can break off once embedded.  Most likely an encounter with this plant would occur if you venture off trail. But even along the trail, be careful, especially when taking photos as you may not pay attention to what is immediately in front of you just below knee height.

4. Climbing on Arches

It is unfortunate that this has to be pointed out.  Common sense should tell someone this is not the best idea.  Beyond the safety aspect, these folks ruin the photo opportunity for many other visitors to this arch (Double O at the end of the Devils Garden Trail).  The Park Service has a regulation stating that climbing on any named or unnamed arch greater than three feet wide, is prohibited. Respect the arch and respect the rights of other visitors to enjoy the arch in it’s natural state (no one on it!).

5.  Line up for Photos!

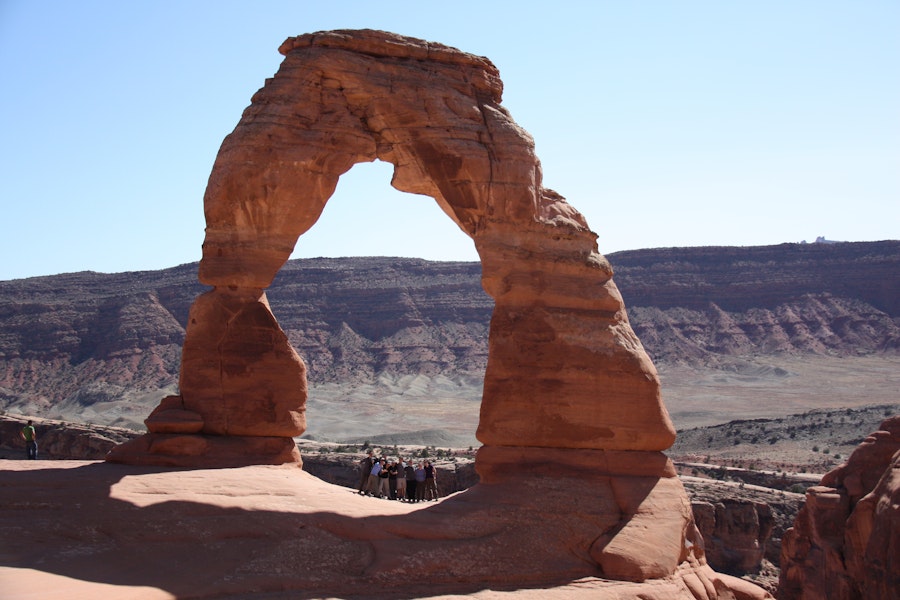
Every time I visit Arches, I am drawn to Delicate Arch.  Not only for the arch itself but the exposed slickrock trail is enjoyable to hike and lately, I’ve been jogging up.  A great workout for 1.5 miles up.  My last year was a bit disturbing.  It was the first I’ve seen such a long line of people waiting to take photos under the arch.  Of course, over the years I have seen people waiting their turn but this time (May 2016) the line was as if someone was handing out money.  But, it gets worse.  More than several people on the line were down right rude and many, just cutting in front of the line with complete disregard to others patiently waiting their turn.  So add patience to the list of things to bring on this hike!

6. Sunsets

I also take the time find a good spot to watch the sunset.  While watching the sunset over the horizon is beautiful, often, the best view is opposite the sunset.  The sun illuminates the Navajo and Estrada sandstone providing a glow to the cliffs that should not be missed.  Keep in mind that the show is not over once the sun sets past the horizon.  If some clouds are present, they tend to go through shades of red, orange or pink about 20 minutes later.

7. Sunrise

The sunrise in Arches National Park can be just as impressive as the sunsets.  This is easy to see if you are camping in Devils Garden.  Most of the campsites are unobstructed to a distant horizon.  Of course, a little cloud cover helps.  What the photo doesn’t translate is the sound of coyotes that are very active in the early morning hours around Devils Garden.

8. The Arches

Needless to say, this is why you visit the park.  Arches National Park has over 2000 arches defined by any span greater than three feet.  Some of the most famous arches are Landscape, Delicate, Turret, The Windows, Double Arch and Skyline.

9. Camping

Devils Garden is the only campground in the park.  There is 51 spots available, two of these are designated as group sites.  Up to 10 people and 2 cars per site are permitted.  Sites cost $25 per night and book up fast.  The campground is the farthest point you can drive to from the entrance and 23 miles from Moab.  Make sure you have all your supplies with you.  This is one of my favorite campgrounds in the National Park system.  I always stay in the same tent spot. The campground will be closed from March 1, 2017 to October 31, 2017 for a major construction project.

10. Explore Dinosaur tracks and fossils

There are three dinosaur track areas just along and outside the western border of the park.  From north to south they are, Copper Ridge tracks, Klondike Bluff tracks and Willow Springs tracks.  There are some others in the area but these are to closest to the park and worthy of some exploration.

0

Author: jmaurizi

5 Must do hikes in Arches National Park

Make the most of your visit to Arches National Park by hiking these five trail. You will see some of the most well-known arches in the world on some trails and experience solitude or unique rock formations on other trails. A great way to take in all Arches has to offer.

1. Park Avenue Trail

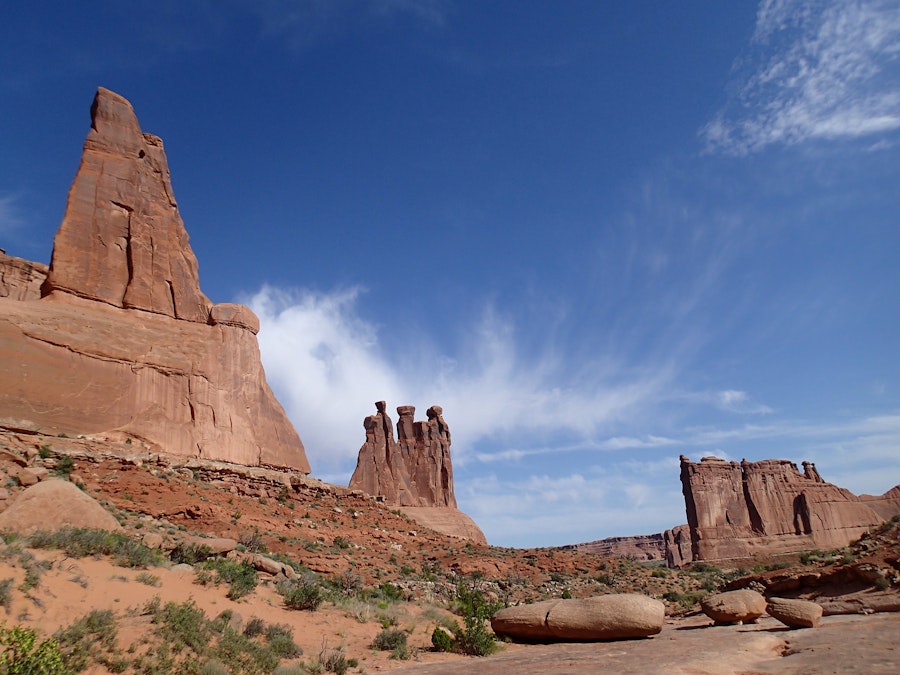
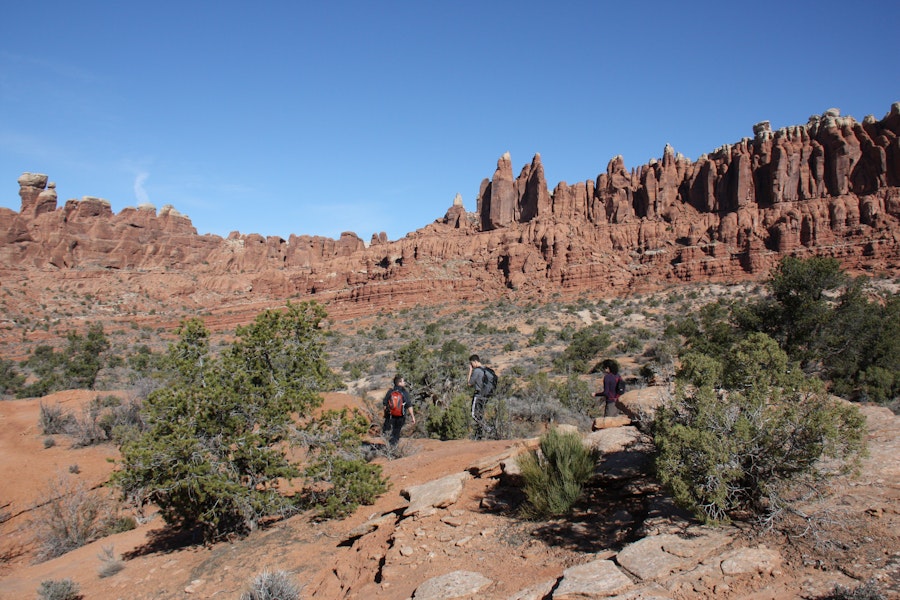
The Park Avenue Trail is only one mile as a through hike or two miles as an out and back. If parking at the first trail head encounter for Park Avenue (from the park entrance), the trail descends into a wide canyon and down Courthouse Wash with huge sandstone fins and walls on either side. It is an easy hike with impressive scenery. Along the hike you will see rock formations known as The Organ, The Tower of Babel, The Three Gossips, and Sheep Rock. This by far is one of the most enjoyable hikes in the park. Many people suggest hiking this trail in the late afternoon for the best photo opportunities. However, any time of day will provide great opportunities, just from different positions and perspective. I enjoyed hiking this in the early morning. Late in the day the opposite side of the canyon will be lit up by the setting sun. Take your pick, both are beautiful times of day.  Note, this trail can be crowded with tourist as it is easy for tour buses to drop off people and pick them up on the other end.

2. Delicate Arch Trail

The hike to Delicate Arch is probably the most strenuous in the park but definitely has a big payoff at the end. The arch graces many Utah license plates and might be the most photographed arch in the world. The hike is only 3 miles round trip but it is exposed to the sun for the entire hike, which by the way, is all up hill. If you want to avoid the heat and crowds, I recommend this with an early morning start. Sunset offers the best opportunities for photographers as the arch lights up from the low angle of the sun. Remember to bring a headlamp and tripod if you are going for the sunset.

3. Klondike Bluff Trail

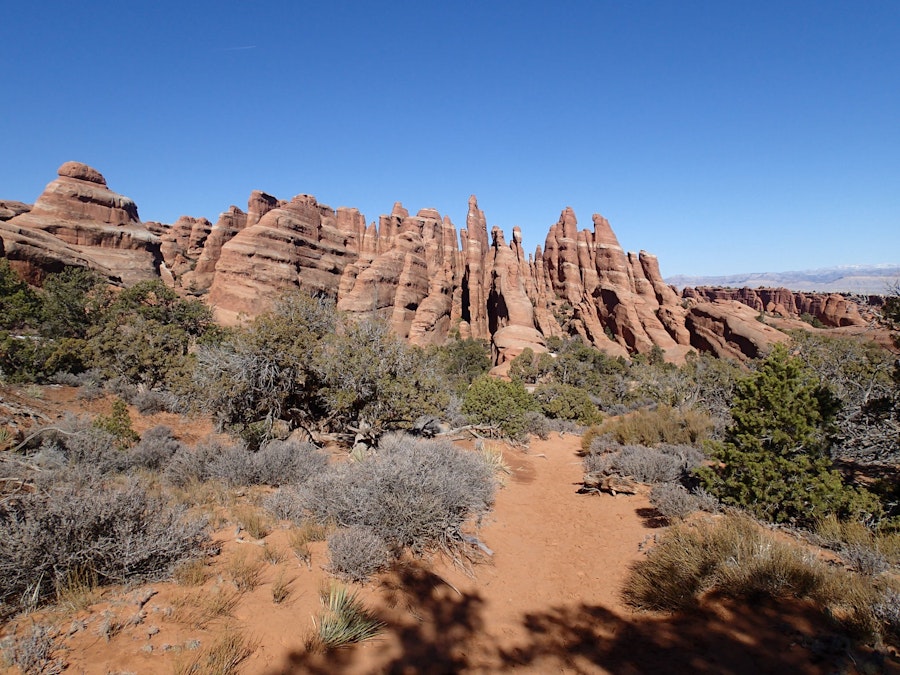
Klondike Bluff is one of the only places in Arches National Park where you have a chance of not seeing another person. The access road can be seen on the left as you drive down the main park road approaching the Devils Garden area and near Skyline Arch. The access road to Klondike Bluff is dirt/gravel and in one area it is deep sand.  However, it is still accessible by most cars. The trail head has been updated and now has a pit toilet. The start of the trail is a bit steep but once on top the trail levels off and is very enjoyable. The trail can be difficult to find at times because the cairns are very small as you travel through this open desert landscape. Half way along on the hike there is four pinnacles on the left called the Marching Men. This is a good landmark and soon after this you will drop into a dry wash and up a deep, sandy hill. Once on top, proceed straight and to the right, weaver through some large boulders to Tower Arch. If you go up into Tower Arch it is possible to go left and work your way up and out of the canyon, passing through a narrow slot. Once on top it is possible to circle around back to a view of the Marching Men however, there is no trail and this should not be attempted unless you are very familiar with backcountry travel and have good route finding skills.

4. Devils Garden Trail

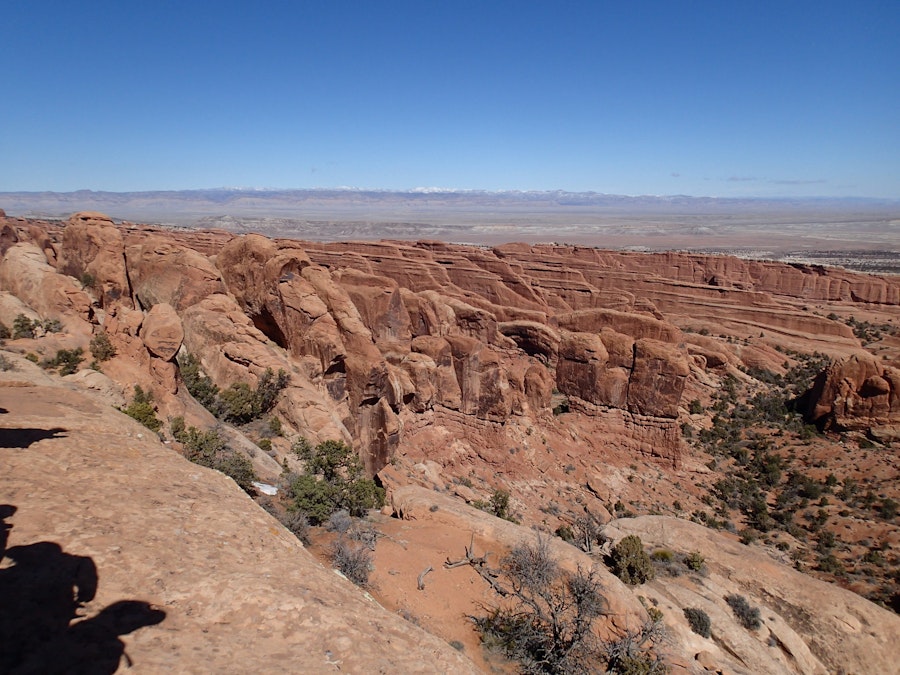
The Devils Garden Trail is one of the most popular hikes in the park. Arrive early to try and get a parking spot. By 10:00am on a nice day, it will be difficult to park. There is a pit toilet style bathrooms at the trail head. The hike starts out on an easy path, well maintained with some up hill sections. You will pass a trail on the right that leads to Pine Tree Arch and Tunnel Arch which is a nice side trip. Continuing on the Devils Garden Trail, you will eventually reach Landscape Arch on the left and another side trail on the right for the Primitive Trail. Here the Devils Garden Trail changes to a more rugged trail with steep sections and uneven surfaces. Continue straight up a steep slick rock trail and the location of the former Wall Arch on the left. You will soon be on top of the “Fin” section of the hike after passing a trail on the left that goes to Navajo Arch and Partition Arch. Views are amazing past this point. The trail is easy to follow and when it is not, there is plenty of cairns (stacked rocks) marking the way. The final section of slick rock descends steeply and to the left you will see Double O Arch. Make your way to the arch for a nice break and return the way you game. On the return you will have beautiful views of the La Sal Mountains and the “Fins” on the left. In total, this out and back hike is closer to 5 miles rather than what the park service states as being 4 miles out and back.

5. Primitive Trail

This is a great hike but I would not recommend it for inexperienced hikers. The trail starts from the Devil’s Garden trail head. Just before you reach Landscape arch, there is a sandy trail on the right. The trail is marked with a wood sign at the beginning. follow the sandy trail for a little over a mile until you reach a dry wash. The direction of the trail is marked with a wood sign and travels to the left at the wash. While in the wash you will come to a large pot hole, often filled with water and several logs. Try not to use the logs to cross the water because they are unstable. You can bypass this pothole high on the right side if you have good hiking boots and you are comfortable using friction to scale steep slick rock. There is another tricky area as you start to cross the fin’s about 2/3 of the way along the trail. It is steep slick rock that you ascend diagonally. This tends to be very slippery because of dry sand deposited by other hikers.

At the end of the primitive trail you arrive at Double O arch. This is a good place to stop for lunch. It is best to return to the trail head using the Devils Garden Trail for a nice loop hike with great views and adventure.

0